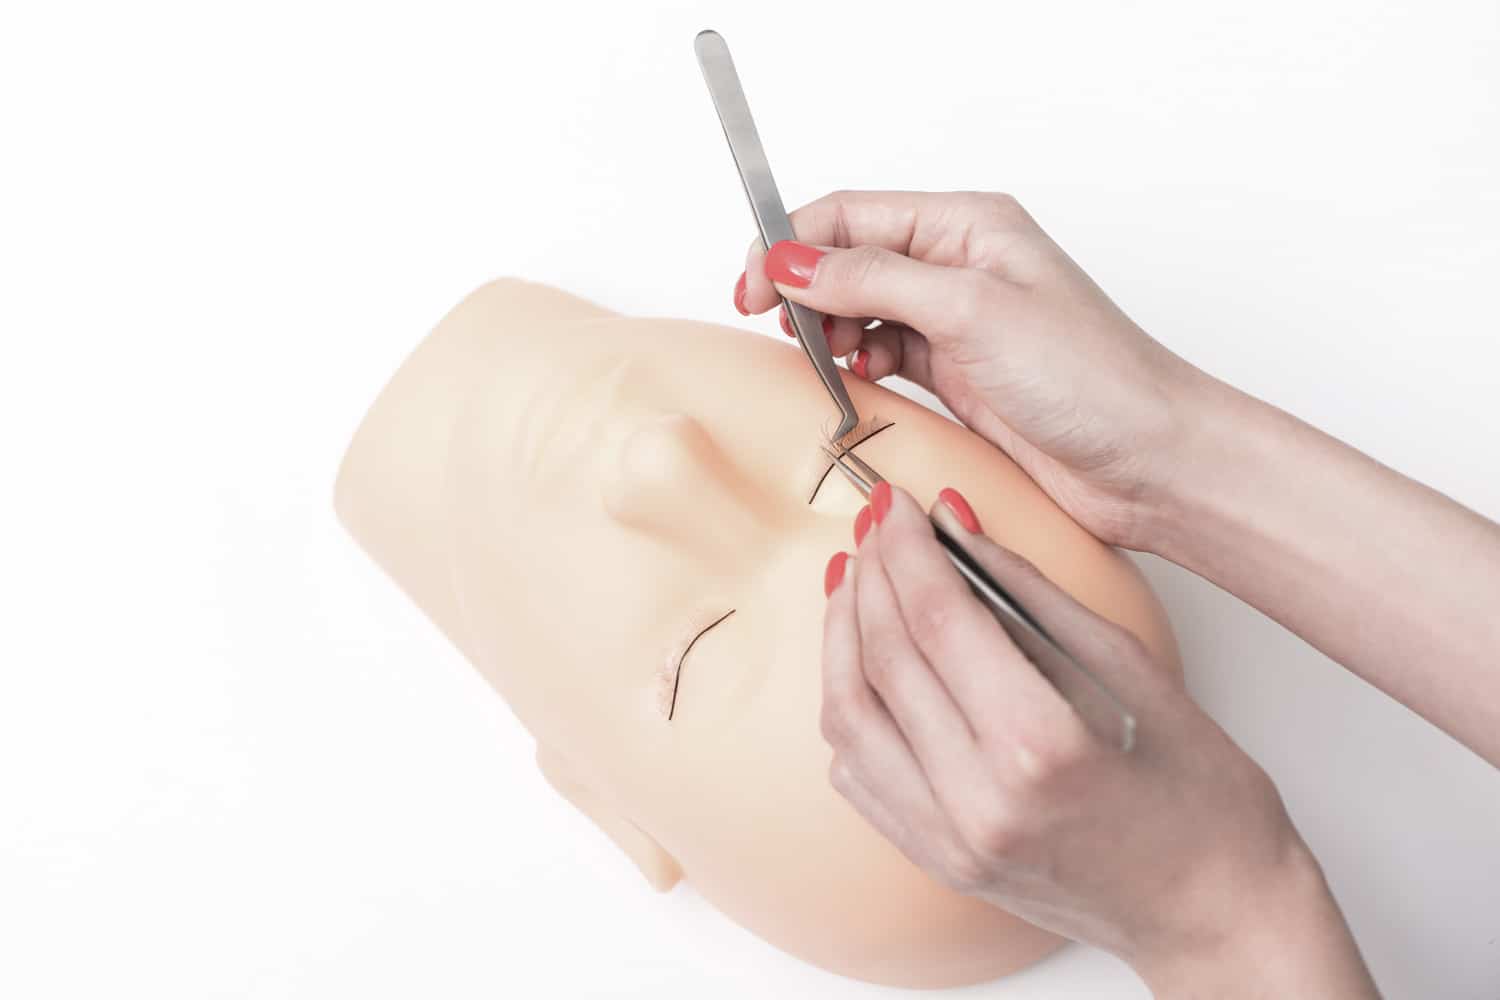
How to Apply Eyelash Extensions Like a Pro

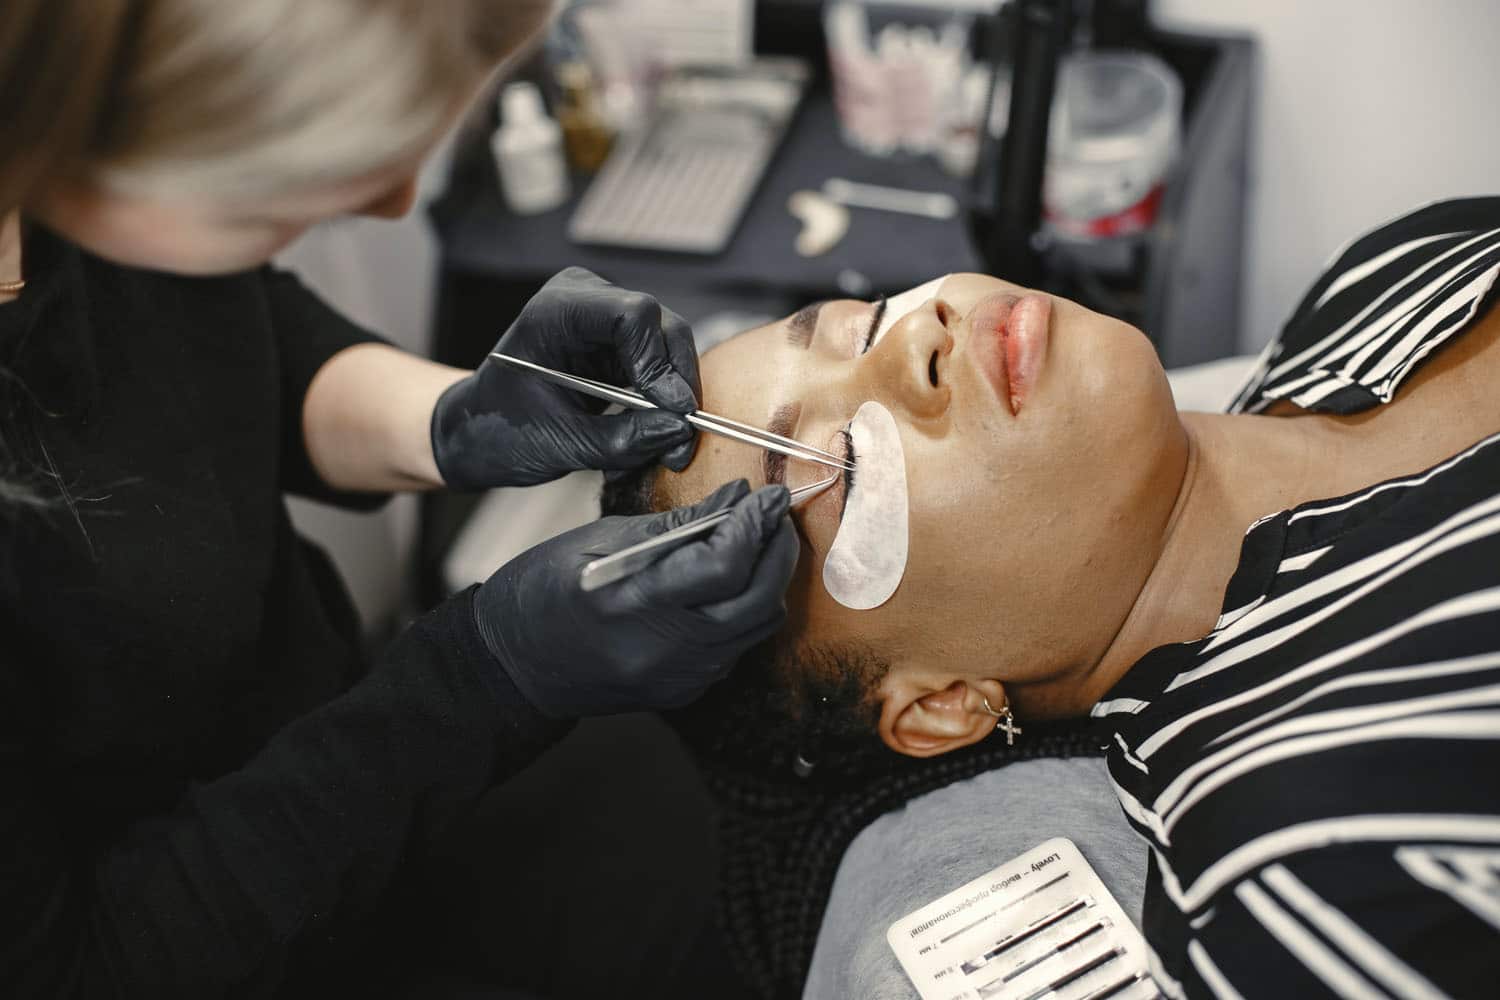
Applying eyelash extensions is an art form. It takes a steady hand, a good eye and far more practice than most people expect before their first course. If you are new to it, the number of products and steps can feel overwhelming, so let me walk you through the way I teach it.
This is the same sequence I use on every client and the same one my students learn on their first day. Nothing here is complicated. What makes the difference is doing each step properly rather than rushing to the part where lashes go on.
Basic Supplies Needed for Application
Before you start, make sure everything is within reach. You will need:
- Eyelash extensions
- Lash cleanser
- Tweezers
- Lash adhesive
- Primer
- Lash brushes
- Under eye pads & tape
Once that is laid out, we can begin.
Step One: Prepare the Lash Line
I cleanse every client, every time. Gently clean the lashes and remove any makeup or oils with a cotton swab soaked in lash cleanser, working along the lash line until there is no debris left. Then dry them completely with a microfiber towel.
This step is where retention problems start. Skip it, and no adhesive will save the set.
Step Two: Apply Under-Eye Pads and Tape
Cover the lower lashes with under-eye gel pads, then secure with paper tape.
How to Apply Under-Eye Pads?
It looks simple, and it is, but a few things matter:
- Make sure the under-eye area is clean and makeup-free first. The pads adhere better and nothing smudges onto them.
- Choose the right size for your client’s eye shape. Too small and the pad does not do its job; too big and it is uncomfortable and can irritate.
- Peel off one side of the gel backing and place the pad on the lower lash line, tucking every lower lash underneath. Press gently to secure.
- Repeat on the other eye, then carry on.
Step Three: Styling and Mapping
After twelve years behind the tweezers, I still map every single client. Always. It takes one minute and it pays off every time. When someone tells me they no longer need a map, their sets usually show it.
Mapping tells you how many extensions to place and where, before you touch a single lash.
How to Map Lash Extensions
- Start by assessing the natural lashes. Note the length, thickness and curl type. That tells you which style will actually suit this client rather than which style they asked for.
- I begin by marking a line in the middle, where the iris sits, then mark the first lash at the inner corner and the last lash at the outer corner. Everything else fills in between those three points.
- Once your lengths are set, write the size on the back of each extension strip with a fine-tipped marker so you are not measuring by eye mid-set.
Step Four: Prime the Lashes (Optional)
Priming is optional, but it helps the adhesive bond to the natural lash and extends the life of the set. Brush on a thin layer and let it dry for 30 seconds before moving on.
Step Five: Apply Eyelash Extensions
Now the extensions go on. Pick one up, dip it in adhesive, and use very little. You want just enough to act as a bond between the extension and the natural lash. If you take too much, blot it on a tissue rather than placing it and hoping.
Hold each extension in place while the glue sets. I teach 2 to 3 seconds for beginners and 1 to 2 once you are working confidently. Rushing this is the single most common reason a set does not last.
Step Six: Check Eyelash Extension Stickies
Check lash by lash that nothing is stuck together. After every few lashes I stop and look from underneath with my isolation tweezer rather than waiting until the end. Do not rush. Give your work time to breathe.
If you find stickies, separate them carefully with your tweezers. When you have been through the set, brush lightly with a spoolie to catch anything you missed.
Conclusion
That is the whole sequence. Applying extensions is delicate work, but it is not mysterious. Follow these steps properly and the results will hold.
And practice genuinely does make the difference. The more sets you do, the faster and more even your work becomes.
Reading the steps is one thing; having someone correct your isolation and fan placement while you work is another. Our eyelash extension course in Sydney and course in Melbourne cover every step above hands-on, with a full kit to take home.
You may also want to check out these related articles:
How to choose the right lash extension tweezers >>>
How to practice eyelash extensions at home >>>
What are the benefits of private, group and online lash training? >>>
Mastering the volume lashes technique: a guide for beginners >>
Sign up for our newsletter
Subscribe for the latest updates, exclusive offers, and insider tips on mastering lash techniques.